Saturday, July 26, 2014

Utah trip: Part 1

Oh my goodness how awful am I at updating? I really don't have any excuse for the neglect except for my pure laziness. By the time I realized it had been that long since my last update, I found myself 3 feet deep in laundry and trying to pack for our 4 week trip out to Utah.

It only took 2 planes and 10 hours of travel to make it from the sunny beaches of Florida to the beautiful mountainous views of Utah. I've been longing for this trip for some time now. I'm almost sad it's already here because that means it's going to end, and I have no idea when we'll back.

It's been crazy busy since the day we landed but today we laid low...only because my little guy has the stomach flu. Why do kids always seem to get sick when you're on vacation? It's not fair and just plain sucks. There's nothing worse than when your child is sick and in pain and uncomfortable. I would do anything to take that away from him.
And sadly, because of this, it's given me time to update the blog while he sleeps.

I'm pretty excited for the rest of this trip. It's going to be filled with TONS of family time, which is like my favorite thing in the world. And I finally got to meet 2 "new" nephews of mine. I'm also looking forward to reuniting with some great friends that we've missed terribly. And the last thing that I'm looking forward to is eating all of the delicious food that's here! I'll (hopefully) be doing a post on my top favorite eating spots. Stay tuned :)

So please bare with me as my updates may be scattered and non-existent the next few weeks. I really just want to take advantage of spending time with the ones that I love and miss so dearly.
You can also follow along with my instagram, where I'll probably be posting pictures more often than I am blogging.

Here is just a recap of our first week via my blurry iPhone camera:

 This kid was so excited to be at the airport. He was literally bouncing off the walls. It wore me out.
 Obligatory in the air photo.
First food stop of the trip, Kneaders. Basically Heaven.

We decided to raft the Provo River. That water was freezing and those branches are deadly. Super surprised no one was impaled.  

Best little cousins
 Evan refused to wear clothes...shocker. Sitting in Papa's car for the firework show.
 The "grand" finale.
Made a special trip down to Nanz' new shop to surprise them. This photo pretty sums up everything, super awkward and scattered.
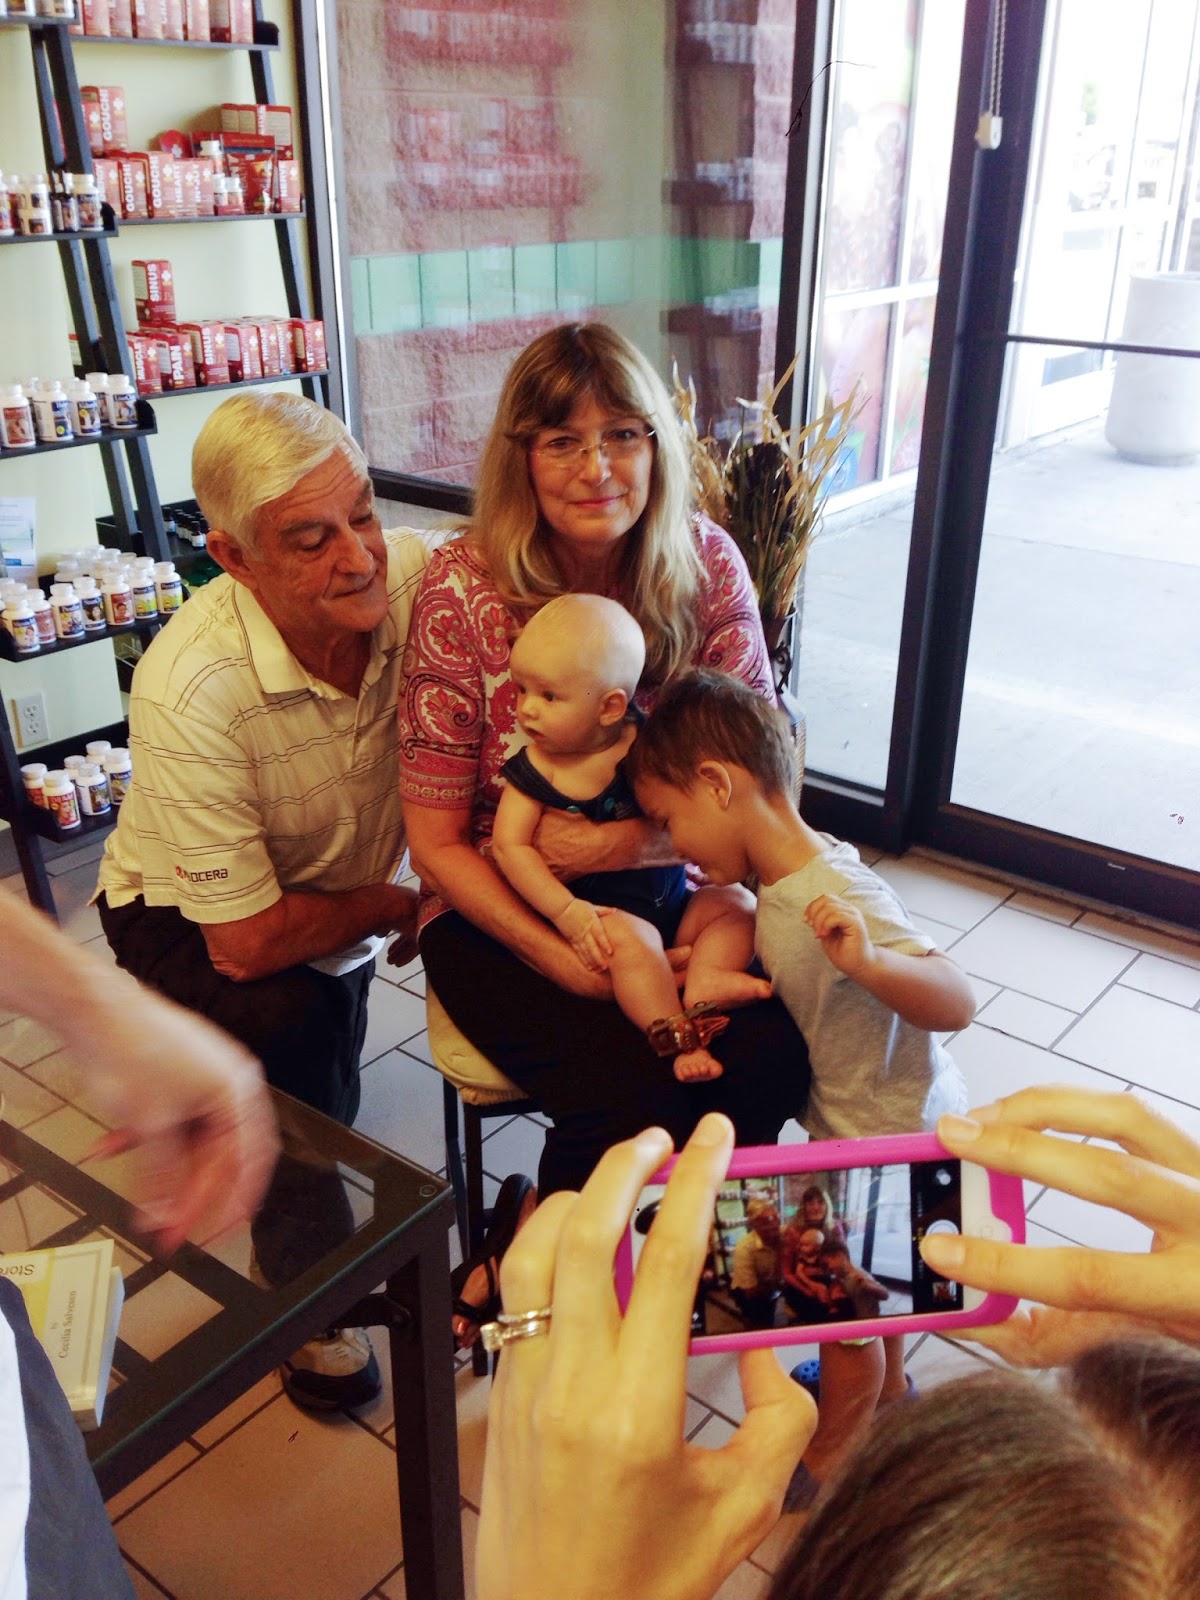
NeeNee took the grand kids and myself to see the new Planes movie. Evan couldn't sit still for longer than 5 minutes. It made it hard to concentrate.
 They had to reenact the movie
 Evan was dying to feed the horses. Every time the horse took a carrot from his hand, he made that face.

 And this brings us to today...the stomach flu. Throwing up every 30 minutes for 5 hours. Let's hope this never happens again.


Tuesday, July 8, 2014

Sparkling Strawberry Lemonade


I think I post this drink on every site I've ever had (2 sites) but it's just so dang good, I feel guilty keeping it to myself. 
I learned this recipe from one of my Young Women's leaders like 13 years ago. And It's honestly like liquid heaven. 
I almost hate making it for events because I do not want to share it. I hoard it. I don't even tell my husband when I make it because I don't him to have any. 
I'm selfish, and I'm okay with it. I've accepted it :) 
So to keep me from looking like the bad guy and never sharing the goodness, I will just pass the recipe along so you can make it and hoard it for yourself!


Ingredients

2 lbs fresh (or frozen (thawed) if out of season) hulled strawberries
1 1/2 - 2 cups fresh lemon juice (about 6 lemons)
1 cup sugar
1 cup water
2 bottles of sparkling water (you'll need about a liter and a half)

Directions: Slice strawberries and place in blender. Add 1/2 cup sugar. If you want a more sour lemonade, use 2 cups lemon juice, for a little more subtle taste use 1 1/2 cups. Pour lemon juice into blender. Next, make a simple syrup. To do so, boil the last 1/2 cup of sugar with 1 cup of water. Reduce and stir until sugar has dissolved. Remove from heat and let cool for 10 min. Now add the simple syrup to blender. Blend until smooth.
Pour mixture into a pitcher and add sparkling water slowly. Stir with a large spoon. Chill for about 2 hours or serve over ice immediately because really, it's just too good to wait for.


Friday, June 27, 2014

Naked for the 4th...

...Naked cake that is...


Don't you think these types of cakes are the prettiest things ever? All I want to do is make and eat them all day long. Who wants to join me?

I needed a good excuse to make one of these beauts and I figured the 4th of July would be the perfect occasion to bake up a cake and top it with gorgeous, fresh, red and blue berries. And that's just what I did...only I did it a week early. 
So I guess I should call it a "27th of June, cake". 
This cake was so easy to make and the end result is beautiful. 
I feel like they're pretty self explanatory to make, but if you need some guidance
 I've done a little tutorial on how to put one together. 

What you'll need

2 boxes of cake mix
             or
double batch of this vanilla cake 
3 cans of frosting, or a large batch of homemade frosting
toppings of your picking

First start by making 2 batches of cake.
I cheated and used boxed (gasp) but I really should have made my own.
Boxed cake is just no good after you've had a good, made from scratch, homemade cake.
Lesson learned.
 Bake up your cake batter in 8 inch cake rounds. You should have enough for 3-4 layers.
Once your cakes have cooked and are fully cooled, take a serrated knife and cut the domed top off your cakes, making sure the whole layer is flat and even.
Now we start to build.  Place your first cake layer down on your cake stand or serving platter, I put the cut side on the bottom so the top was smooth. Cover it with a generous amount of frosting and spread it to the sides. Try to keep it neat and stay in the lines.

Continue to do this until you've reached your top layer. Once your top cake is frosted, you can leave it as it is or cover it in berries or whatever you choose as your topping.


Friday, June 20, 2014

4th of July cupcake toppers


So I've been a little MIA these past few weeks. 
To explain, my husband was gone for almost 2 weeks and I had very little energy or desire to write anything. I also didn't have access to his laptop/photoshop. So I guess I used that as my excuse to sit back for a bit and be lazy. 
But I am here today to bring you 4th of July cupcake decor! 
It's nothing too elaborate but I feel it turns boring old frosted cupcakes into something festive and fun. They were super easy to make and cost about $3 (or less if you already have some of the supplies) to make.
 Get creative and have some fun with it!
 I hope these inspire your 4th of July celebrations! 
You'll have the best dressed treats at your freedom day BBQ's and parties.
(yeah I repeated a picture, I needed 8 pictures but only had 7...)

For the cupcakes, I used this yummy recipe

Wednesday, June 11, 2014

Father's Day Meals

I can't even believe we're in the second week of June. 
I know I say this all the time, but time is seriously flying by. And Father's Day is approaching way too fast. 
I don't know about you, but my main man loves a good meal. 
And what better way to honor the father of my child, than to make him a delicious, home cooked, manly man meal. 
I have gathered a few of my favorite recipes to share with you, that'll definitely show the men in your life how much you guys really appreciate him. 


And for dessert...


Saturday, June 7, 2014

Hub's traditional birthday


It was the hubby's birthday the end of May and I wanted to try to make this day stand out from the rest. I knew that he wouldn't care whether I did something huge, or did nothing at all. But it's not in me to not do something! He always says, "no gifts," for every holiday and every occasion. And ask me how many times I've actually listened. None would be the correct answer. I always try to surprise him with something, but it's not always something big. Most of the time it's just his favorite chocolate bar, or a bottle of Dr. Pepper. Not the generic kind though, I try to keep things classy around here ;)


Growing up, his birthday tradition was his favorite pasta for dinner followed by peppermint fridge cake for dessert. 
For most of us USA-ers,  peppermint fridge cake rings no bells. As far as I know, it's a South African only known dessert. 
Side note: for those of you who don't know, my husband is South African. 
We only make this cake once, maybe twice a year. And It's usually during the holiday season. But the husband specifically asked for this cake for his birthday, so the birthday boy got what he wanted. I have to admit, I was little disappointed he didn't want my chocolate cake. For selfish reasons though...because that's what I wanted.

So what exactly makes this peppermint fridge cake? Well, let me tell you. It's probably the easiest thing you'll ever make. 
It's only 4 ingredients and probably takes 10 min at most to make to put together. It's made with layers of graham crackers and a dulce de leche whipped cream, and then topped with mint chocolate bits. Then it sits in the fridge for a minimum of 5 hours so the layers can mesh together and create this deliciously rich, caramel-y cake.

I had a few friends ask for the recipe, so I'm here today to FINALLY share it with you. I hope you enjoy! I also decided to give it a second name.

No- bake Dulce De Leche cake (Peppermint fridge cake)

2 cans dulce de leche (usually found near the evaporated milk)
2 pints whipping cream (not half and half)
1 box of original graham crackers
1 bag of pre-chopped Andes mints or 1 box of wrapped Andes mints, chopped

In a large bowl and using an electric mixer, dump out both cans of dulce de leche. Turn your mixture on to medium speed and slowly start pouring in your cream. Once all of your cream is added, continue to whip on medium/high speed until firm peeks form. Once you have peeks, whip for 30 seconds more. Set whipped mixture to the side. In an 8 x 8 dish, place a layer of graham crackers on the bottom. It needs to (mostly) cover the whole bottom. There will be small little gaps, and that's fine.  Next, carefully pour about 2-3 cups of your whipped dulce de leche on top of the graham crackers. Slowly spread it out, covering all of the graham crackers. Now do another of graham crackers and another layer of dulce de leche. Continue those 2 steps until you've reached the top of your pan, but make sure your last layer is the dulce de leche mixture. You should have about 3-4 layers of graham crackers. Lastly, sprinkle your Andes mints over the top. Cover with plastic wrap or foil, and place in the fridge for at least 5 hours. You want your graham crackers to become soft, almost mimicking cake texture. When you're ready to eat, carefully cut into squares and serve. 

If you have any questions, please ask. I'd love to help!


Tuesday, June 3, 2014

Watermelon Inspiration

I have this new obsession with watermelons. Not just the eating of the fruit but with anything watermelon printed! I'm in love.  I also feel like watermelon is the icon of summer time. Am I right?
It screams summer days by the pool and BBQ's with friends. It's delicious and everyone loves it...except for one of my friends, ehem, Kelli...you're weird but I still love you. 

Below is some inspiration for my upcoming summer craft that I am super excited to start and share with you!