Showing posts with label holiday. Show all posts

Sunday, December 7, 2014

Christmas Cookie Series #4: Sugar Cookies


Growing up, I was never a fan of sugar cookies. 
I thought they were boring and the taste was, meh. 
Once I started baking I knew that I needed to conquer this cookie and I set out to find the perfect recipe. 
After trying a few recipes and being disappointed with it's outcome I decided that it wasn't the recipe and that it was me. 
But that all changed when someone passed along this recipe to me while I was in hair school. 
And I've now realized that it actually wasn't me, it was other people's recipes. 
The truth is rough sometimes.
But I am forever grateful that I now have a delicious sugar cookie recipe for my recipe box.
This cookie is so easy and it calls for just a few ingredients. I hope you all enjoy!

Ingredients
makes approx. 3 dozen, depending on size of cookie
  
8oz package of cream cheese, room temp
1 1/2 sticks of salted butter, room temp
1 cup granulated sugar
2 tsp vanilla extract
2 1/4 cups flour
1/2 tsp baking soda  

In a large mixing bowl, cream together cream cheese, butter, sugar and vanilla. Next, add in flour and baking soda. Mix until well combined. Cover your mixing bowl with plastic wrap and chill in your fridge for 20 minutes.
While your dough is chilling, preheat oven to 350 degrees.

*Here is my tip for rolling the dough and transferring your cookie cutouts. Use the precut parchment baking sheets. Lay a sheet out on your working surface and lightly flour it. Dump your dough onto the parchment and roll it out there. Once you've cut your cookie shapes and peeled away the excess dough, carefully transfer the paper with your cookie cutouts onto your baking sheet.

Bake for 8-12 minutes, or until edges are slightly golden (9 min for me).
Let your cookies cool for 1 minute on the baking sheet before transferring them to a cooling rack.
Cool them for at least an hour before attempting to decorate or you will have a big melt-y, frosting mess.

For the icing I use this recipe. It's a glace icing and it's amazing. I love the way royal icing looks but I cannot stand the taste. I find it quite disgusting actually. This icing is awesome. It hardens enough to decorate and package but is actually tasty and enjoyable to eat. So check it out, and use it. You won't regret it.

Monday, December 1, 2014

Christmas Stove Top Potpourri

Today I am sharing 2 ways I make my home feel like Christmas. 
One of my favorite ways to make my home smell like Christmas is by making a simmering pot of delicious smells.
These are seriously so easy to throw together and you can do just about any flavor combination you love. 
I love the smell of apples, citrus, and cinnamon, so that's what I threw into my pot.
So in place of lighting a candle, try this instead! 
Your home will smell so yummy that your husband will actually comment on how great the house smelled as soon he walked in the door. 
True story. 

Ingredients

1 1/2 cups fresh cranberries
1 granny smith apple, sliced
1 orange, sliced
3 whole cinnamon sticks
1/4 tsp nutmeg
1 1/2 tsp vanilla extract or 1 vanilla bean
4 cups of water

Dump all of your ingredients into a medium sized sauce pan, and simmer over low heat for hours. If your level starts to get low, add a few cups of water and keep simmering. My pot lasts me about 3 days before I dump it out and start with a fresh batch. Enjoy your delicious smelling home!

*never leave your pot simmering while you are out of the house. This should be common sense but sometimes things get forgotten, and I don't want to be responsible for any one's homes burning down. Thanks.
The second way I bring on the Christmas joy is by playing Christmas music all day long.
 I know people are sticklers when it comes to their taste in Christmas music. 
I know this because I am one of them. I am very picky.
 I can't help it that some arrangements are just better than others.
(I'm reading this in my mind like Gretchen Wieners)
 Here is a summarized list of my favorite songs for the season!
 Happy 1st of December!


Saturday, November 29, 2014

Christmas Cookie Series #3: Thumbprint cookies


I am back in the kitchen baking up my favorite Christmas time cookies. 
I took the week...okay, 2 weeks off but I am getting my act together and whipping a few batches to get us caught up. 
Has anyone ever had the Ghiradelli chocolate filled thumbprint cookies? They are delicious and I cannot find the boxed mix ANYWHERE! It is super depressing.
I figured, if I can't find the mix anywhere, I'll just have to try to whip up my own batch.
So, today I am sharing these little chocolate filled thumbprint cookies. They are so easy to make and will make a great addition to your Christmas cookie platters.

Ingredients
makes approx. 2 dozen
original recipe here

2 sticks salted butter, room temperature
1 cup powdered sugar
2 tsp vanilla extract
teeny tiny, pinch of salt
2 1/2 cups flour

chocolate filling
1/2 bag of good quality, milk chocolate chips
4 tbs unsalted butter
*1 tsp light corn syrup

Preheat oven to 350
In the bowl of an electric mixer, cream together softened butter, powdered sugar, vanilla and salt. Mix for 2 minutes on medium/high speed. Slowly add in flour and mix on medium speed until well combined.

Take a tablespoon size of dough and roll into a ball. Place dough balls 1 inch apart on a parchment lined baking sheet. Bake for 10 minutes, remove from the oven and press *thumb* into the center of the dough to make an indentation. Place the cookies back in the oven for another 6-8 minutes, until the edges are light brown. Remove from the oven and place cookies on cooling rack.
 Once your cookies have cooled, make your chocolate filling. Place chocolate chips, butter, and corn syrup in a microwave safe bowl. Microwave in 30 second increments, stirring each time, until your chocolate is melted and smooth. Carefully fill your cookies with the melted chocolate.
 *I use the back of a teaspoon to make my "thumb" print. I don't know about you, but sticking my finger into a hot cookie and burning the crap out of it just doesn't sound enjoyable. But if you're into that kind of thing, then by all means, go ahead and stick your finger into the lava cookie
* I made my chocolate filling sans corn syrup because I didn't want to buy a giant bottle to only use a tsp of it. So I opted out of it just added extra butter to my chocolate to help smooth it out and keep it runny. I probably used an extra tbs of butter. I think next time I will actually buy the corn syrup. The butter just made the chocolate a tad too...buttery and rich.

I hope you guys enjoy these
 and if you've missed my past posts you can check them out here.

Saturday, November 15, 2014

Christmas Cookie Series #2: Rolo Cookies


Sorry, I am a day late in posting this recipe. Our trip from last weekend wiped me out. but that's another story and another blog post.
I have been making these cookies for the past 6 years, every Christmas, without fail.
 These are one of my husbands favorites. 
They do take a little extra time, just because you are having to unwrap a million little Rolos, and then you have to fold them inside of the cookie dough. 
But for the few extra minutes it takes you, it's well worth it. I promise these will be a hit for any cookie exchange, party, or self devouring.

Ingredients
makes approx. 4 dozen

2 1/2 cups flour

3/4 cup cocoa
1 tsp baking soda
1/4 tsp  salt
1 cup salted butter, at room temperature
1 cup granulated sugar
1 cup light brown sugar
2 eggs
2 tsp vanilla extract

Bag of Rolo candies, unwrapped
extra sugar, for rolling dough in (about 1/4 cup)

Preheat oven to 375. Prepare your baking sheets with parchment paper or a silicone baking mat.


Unwrap approx. 48 Rolos. Maybe a few extra because you will most likely eat a few along the way.

In a medium sized bowl, sift together flour, baking soda, and salt. Set aside.

In large bowl with a mixer, cream together the butter and sugars until smooth. Next add in your eggs
and mix. Scrape down the sides and add in vanilla extract and mix until blended.

Now slowly add in the flour mixture to the sugar mixture and mix until well combined. 
With a small sized cookie scoop, or spoon, take enough dough to wrap around one Rolo. It should make about a 1 inch sized cookie dough ball. Make sure the Rolo is completely covered.


Next take a bowl with 1/4 cup sugar and roll the dough ball until its completely covered in sugar. Place the dough ball on your prepared baking sheet.
Bake for 7-10 minutes. *7 minutes is perfect for me.
Remove from the oven and let it cool on the sheet for just a few minutes before transferring them to a cooling rack.

iheartnaptime livingwellspendingless aglimpseinsideblog katherinescorner whatscookinglove
simplysweethome answerischoco ahandfulofeverything theseamanmom somedaycrafts housewivesofriverton snapcreativity

Thursday, November 6, 2014

Christmas Cookie Series: Pinecone Sugar Cookies


Now that November has finally arrived, I am ready to launch my Christmas cookie series! 
I am so excited for this...and so is my husband.  
I have been planning this since the beginning of the year. 
No joke.
There is just something about this time of the year that makes me want to bake all day long. 
Except I don't, because of the whole having to clean all the dishes, thing.

This series will not only have cookie recipes but ideas for decorating them. 
I am not a professional nor do I really know what I am doing, but hopefully that will help the average baker in not feeling so intimidated at attempting any of these ideas.

So pull out those fat pants, because the next 7 weeks are going to be filled with sugary, sweet cookies! 
To start us off, here's a little peek at these pine cone, chocolate sugar cookies I slaved over today. 

I'm not quite ready to share the cookie recipe yet because the ones I made were so awful. 
But I couldn't resist not sharing the pictures these little beauts. 
And maybe it's just me, but I'm kind of in love with how these turned out.


Stay tuned for a few of my favorite Christmas tradition cookies! 
And I would love to know if you have any traditional cookies you have to make every holiday season? 

Saturday, October 25, 2014

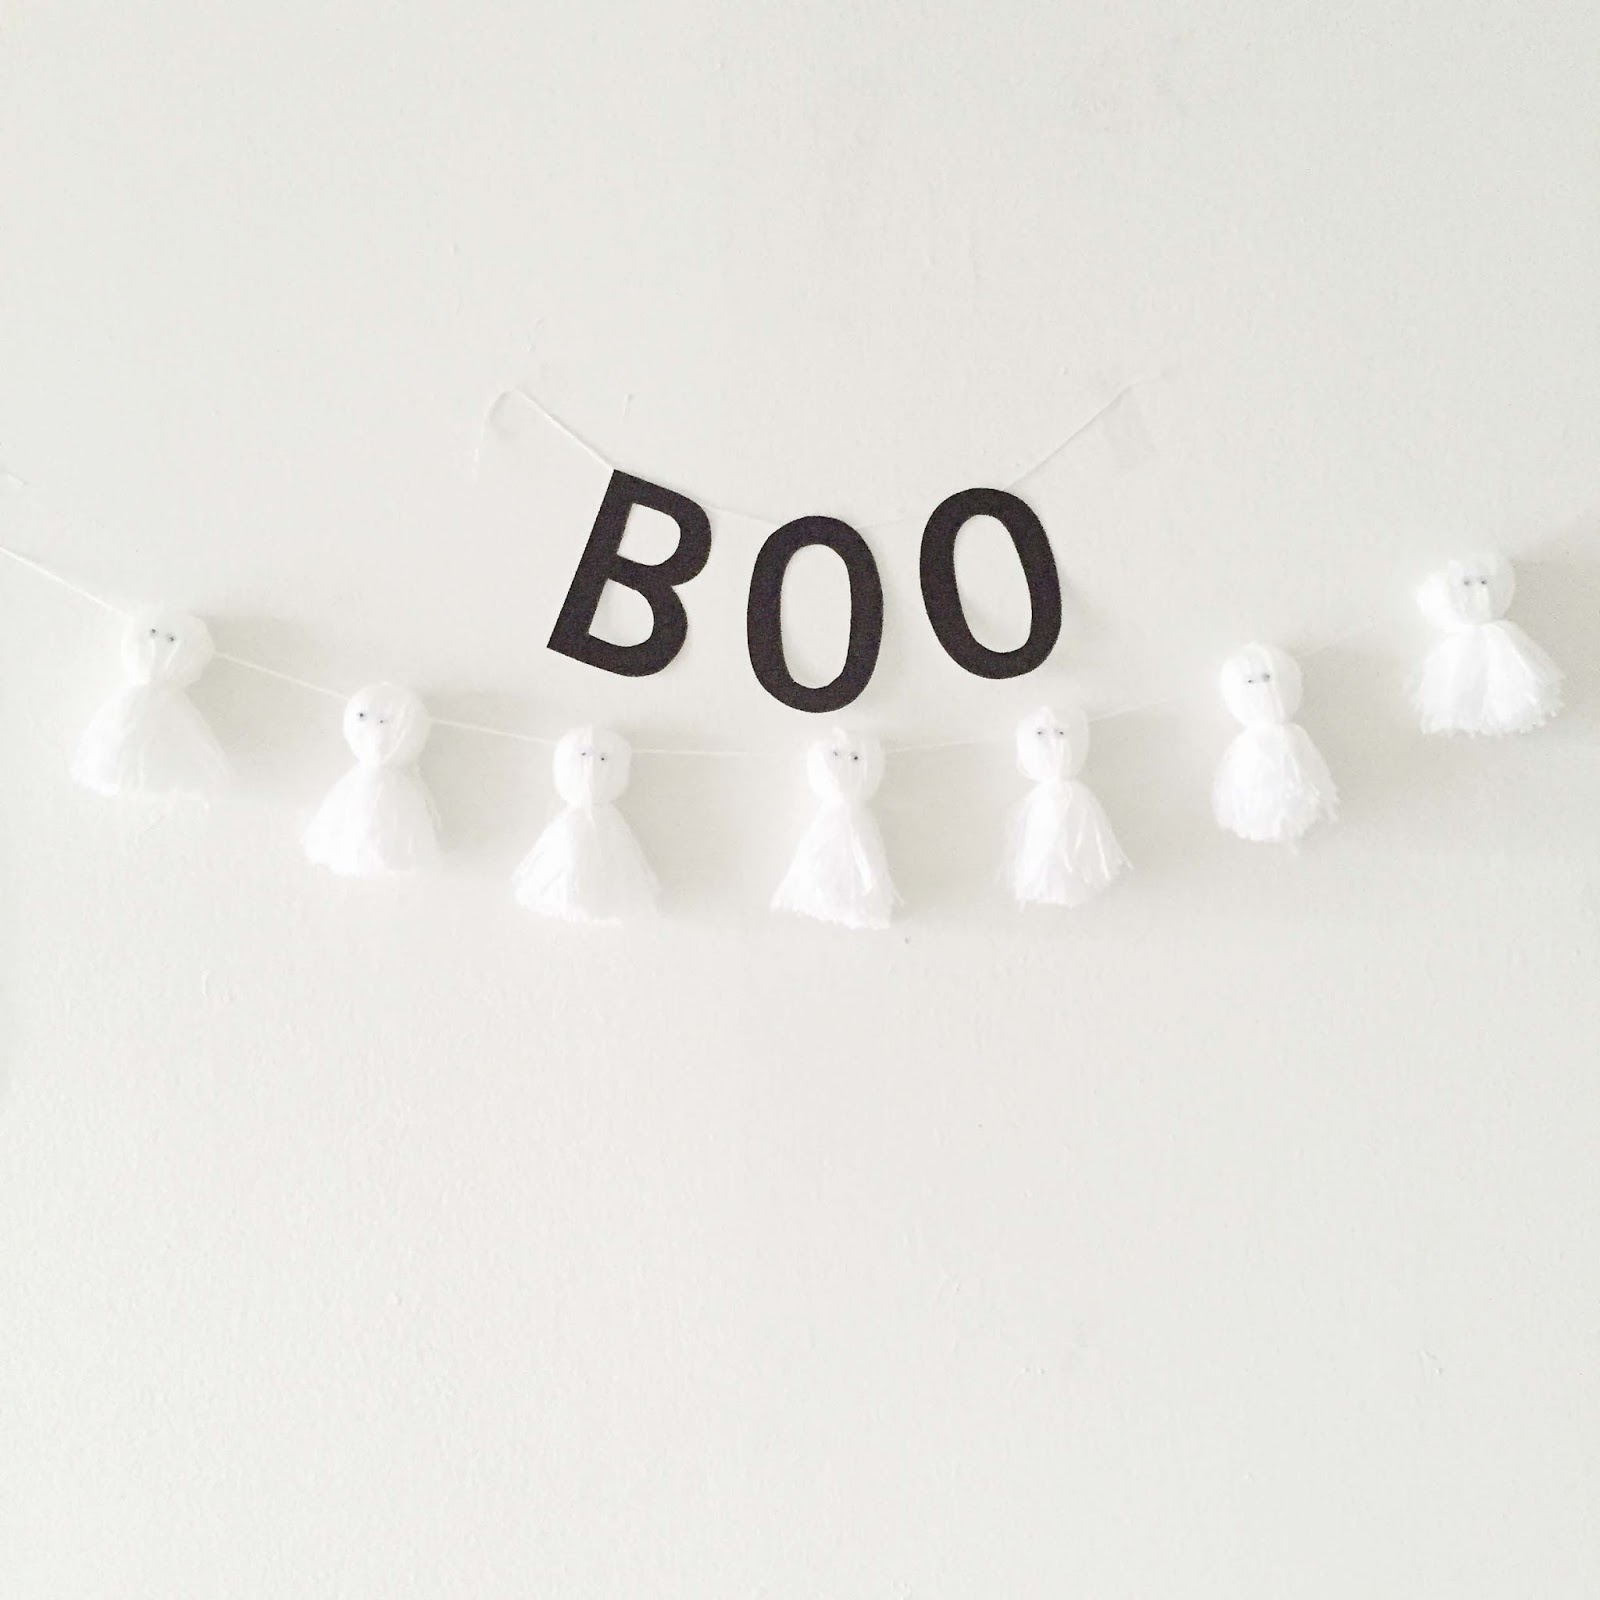
Last Minute Halloween: Tassel Ghosts

Looking for a few last minute Halloween decorations for the house or party? I have this quick and easy garland that will cost you less than $3 and take you approx. 30 minutes to complete!
Things you'll need:

White yarn ( I like the skinny yarn)
1 packet of small googly eyes
super glue
piece of cardboard
scissors

I was going to do a whole tutorial on how to make tassels for these ghosts but I found someone that already did it, and did it 100x's better than what I could have produced. 
So head on over here to learn how to make your tassels. 
Once you've made however many you want, it's now time to turn them into little ghosts. 
This is where it gets super tricky, you ready for this? 
Take one googly eye and place a tiny dot of super glue to the back.
 Carefully, without getting your fingers stuck, place the eye on the rounded part of your tassel. 
Now take a second googly eye and do the same thing.
 Repeat this process for every tassel.
 Once your ghosts are complete, string them on to a long piece of yarn, I used a plastic embroidery needle to do this. 
Super complicated, right? 

And if you're needing a few more ideas for an upcoming Halloween party, check out my post on our black and white Halloween party
 

Friday, June 27, 2014

Naked for the 4th...

...Naked cake that is...


Don't you think these types of cakes are the prettiest things ever? All I want to do is make and eat them all day long. Who wants to join me?

I needed a good excuse to make one of these beauts and I figured the 4th of July would be the perfect occasion to bake up a cake and top it with gorgeous, fresh, red and blue berries. And that's just what I did...only I did it a week early. 
So I guess I should call it a "27th of June, cake". 
This cake was so easy to make and the end result is beautiful. 
I feel like they're pretty self explanatory to make, but if you need some guidance
 I've done a little tutorial on how to put one together. 

What you'll need

2 boxes of cake mix
             or
double batch of this vanilla cake 
3 cans of frosting, or a large batch of homemade frosting
toppings of your picking

First start by making 2 batches of cake.
I cheated and used boxed (gasp) but I really should have made my own.
Boxed cake is just no good after you've had a good, made from scratch, homemade cake.
Lesson learned.
 Bake up your cake batter in 8 inch cake rounds. You should have enough for 3-4 layers.
Once your cakes have cooked and are fully cooled, take a serrated knife and cut the domed top off your cakes, making sure the whole layer is flat and even.
Now we start to build.  Place your first cake layer down on your cake stand or serving platter, I put the cut side on the bottom so the top was smooth. Cover it with a generous amount of frosting and spread it to the sides. Try to keep it neat and stay in the lines.

Continue to do this until you've reached your top layer. Once your top cake is frosted, you can leave it as it is or cover it in berries or whatever you choose as your topping.


Friday, June 20, 2014

4th of July cupcake toppers


So I've been a little MIA these past few weeks. 
To explain, my husband was gone for almost 2 weeks and I had very little energy or desire to write anything. I also didn't have access to his laptop/photoshop. So I guess I used that as my excuse to sit back for a bit and be lazy. 
But I am here today to bring you 4th of July cupcake decor! 
It's nothing too elaborate but I feel it turns boring old frosted cupcakes into something festive and fun. They were super easy to make and cost about $3 (or less if you already have some of the supplies) to make.
 Get creative and have some fun with it!
 I hope these inspire your 4th of July celebrations! 
You'll have the best dressed treats at your freedom day BBQ's and parties.
(yeah I repeated a picture, I needed 8 pictures but only had 7...)

For the cupcakes, I used this yummy recipe